
Setup & Initial Configuration for Blender
Learn how to connect rendering PCs, set paths, and get ready for distributed rendering. This guide will walk you through the essential configuration steps to set up your render farm.
First launch
After installing Corefinder it's recommended to open and configure immediately.
When you first open Corefinder you will be prompted to choose repository.
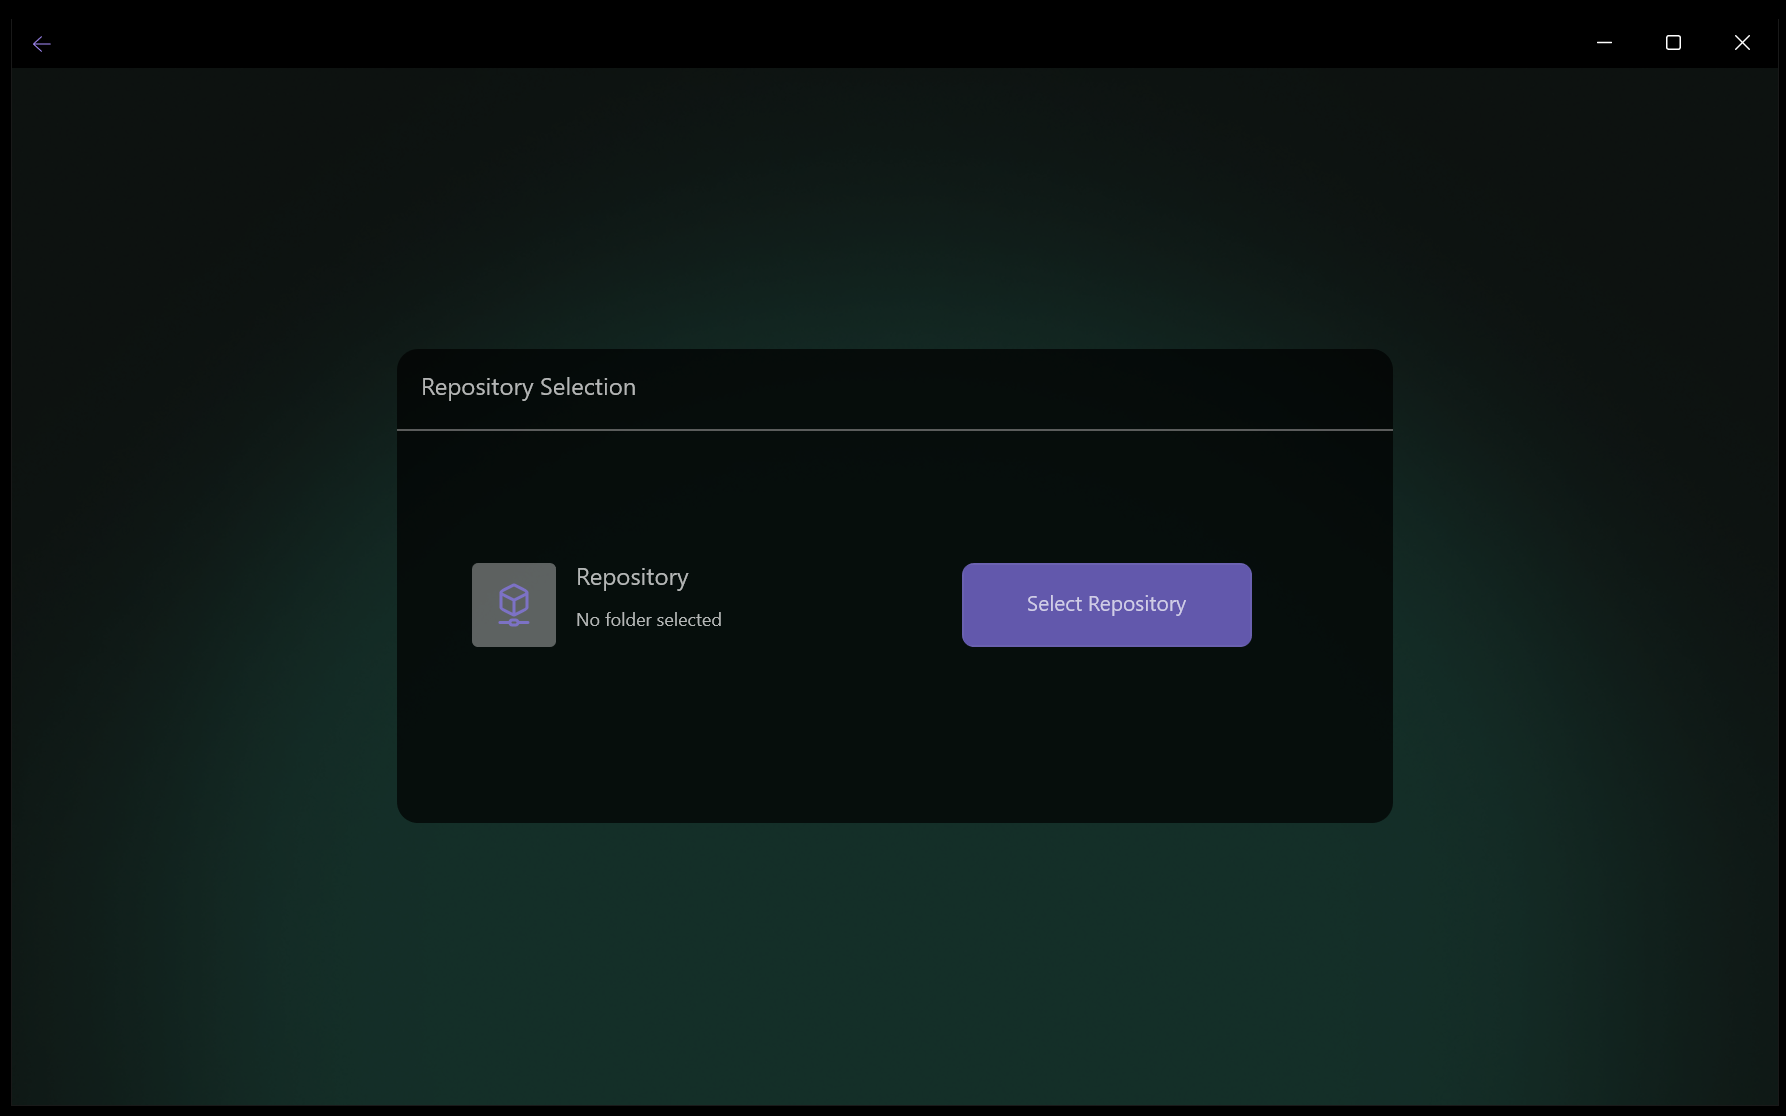
First launch setup and repository selection
In case of multi PC setup, please choose the shared folder, to which every PC has read write access.
Choose empty folder for example CoreFinderRepo.
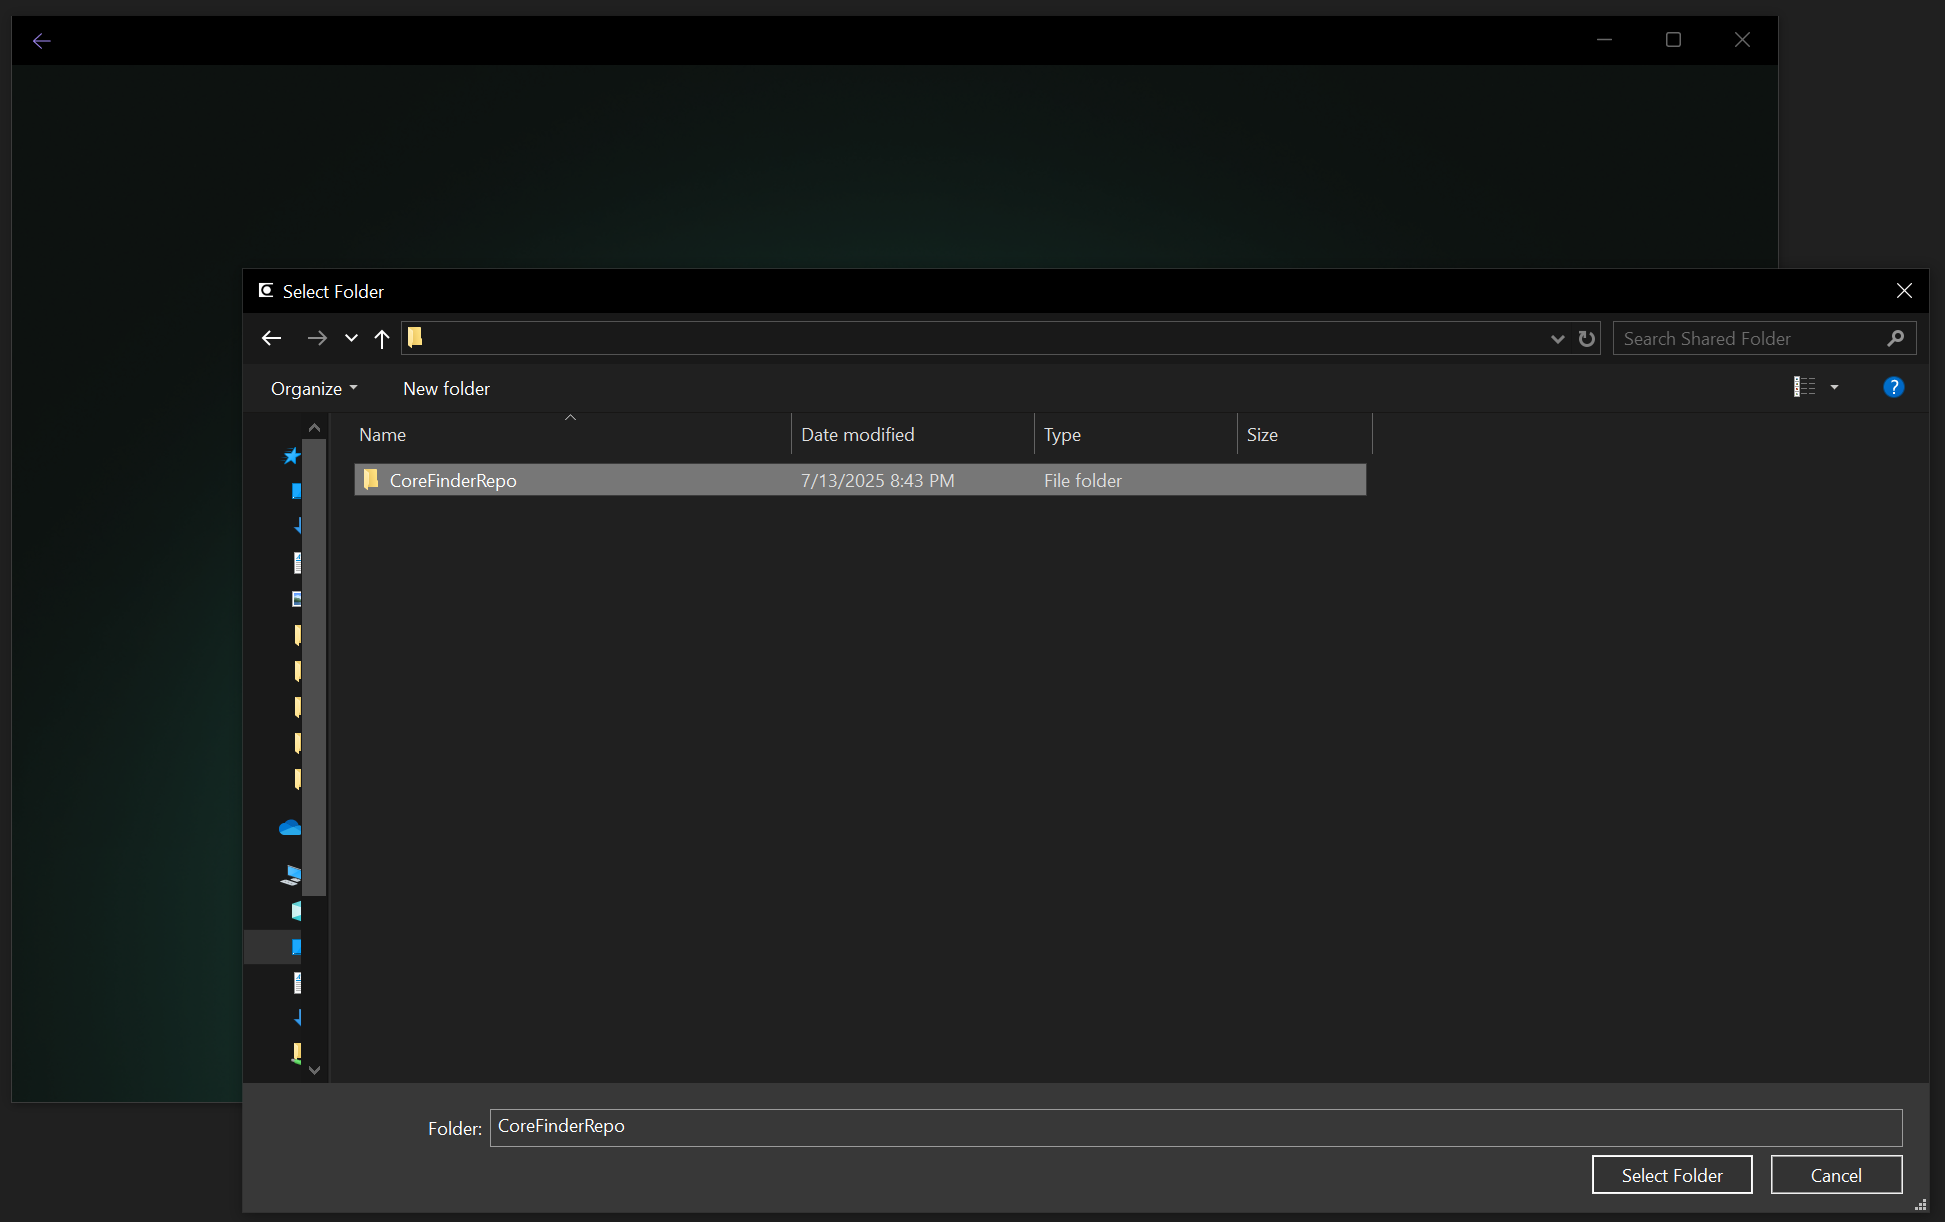
Repository selection
After choosing the repo, software will check if the repo has login credentials, if not, you will be prompted to login screen.
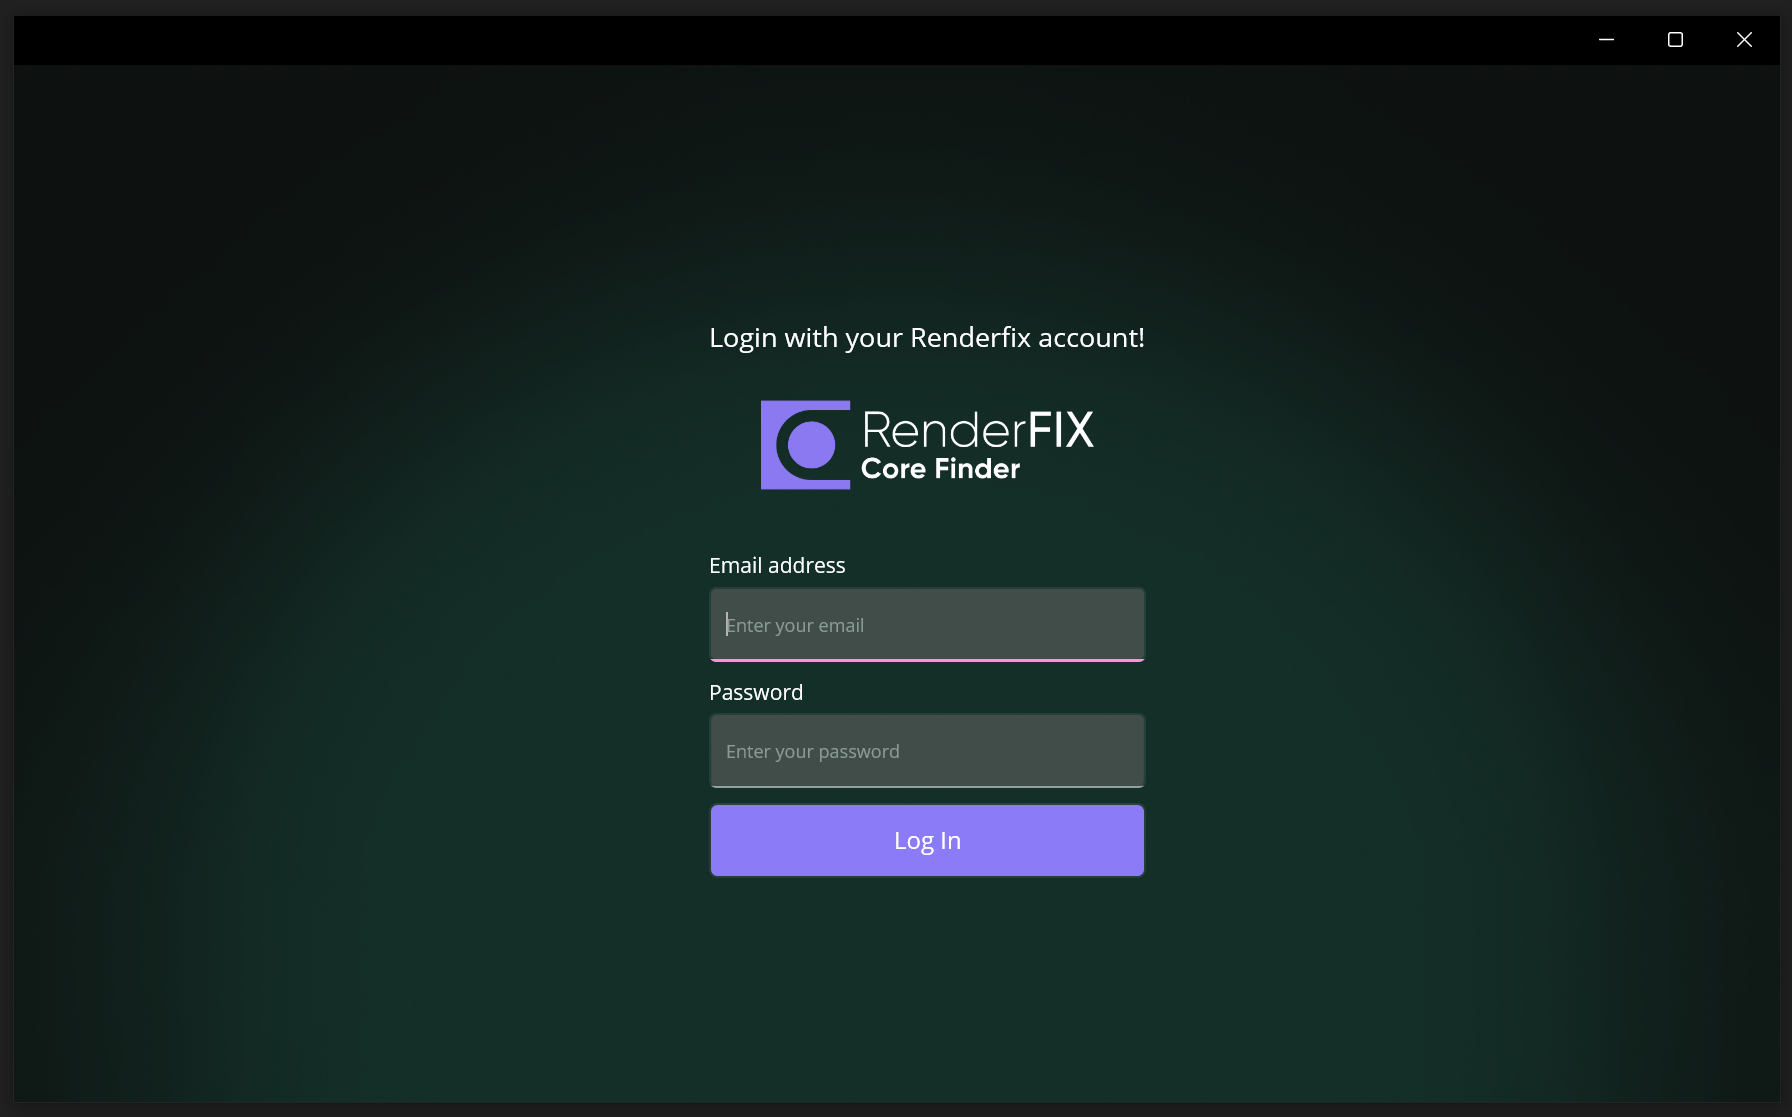
Login screen

Successful login
After logging in once, other PCs pointed to that repo will log in automatically.
⚠️ License Error:
If you will not have enough licenses you will receive an error.
License Management:
If you want to deactivate license on one PC and activate it on another, you can go to your dashboard on renderfix website and unlock desired license. After that try again launching Corefinder on the new device you want to connect.
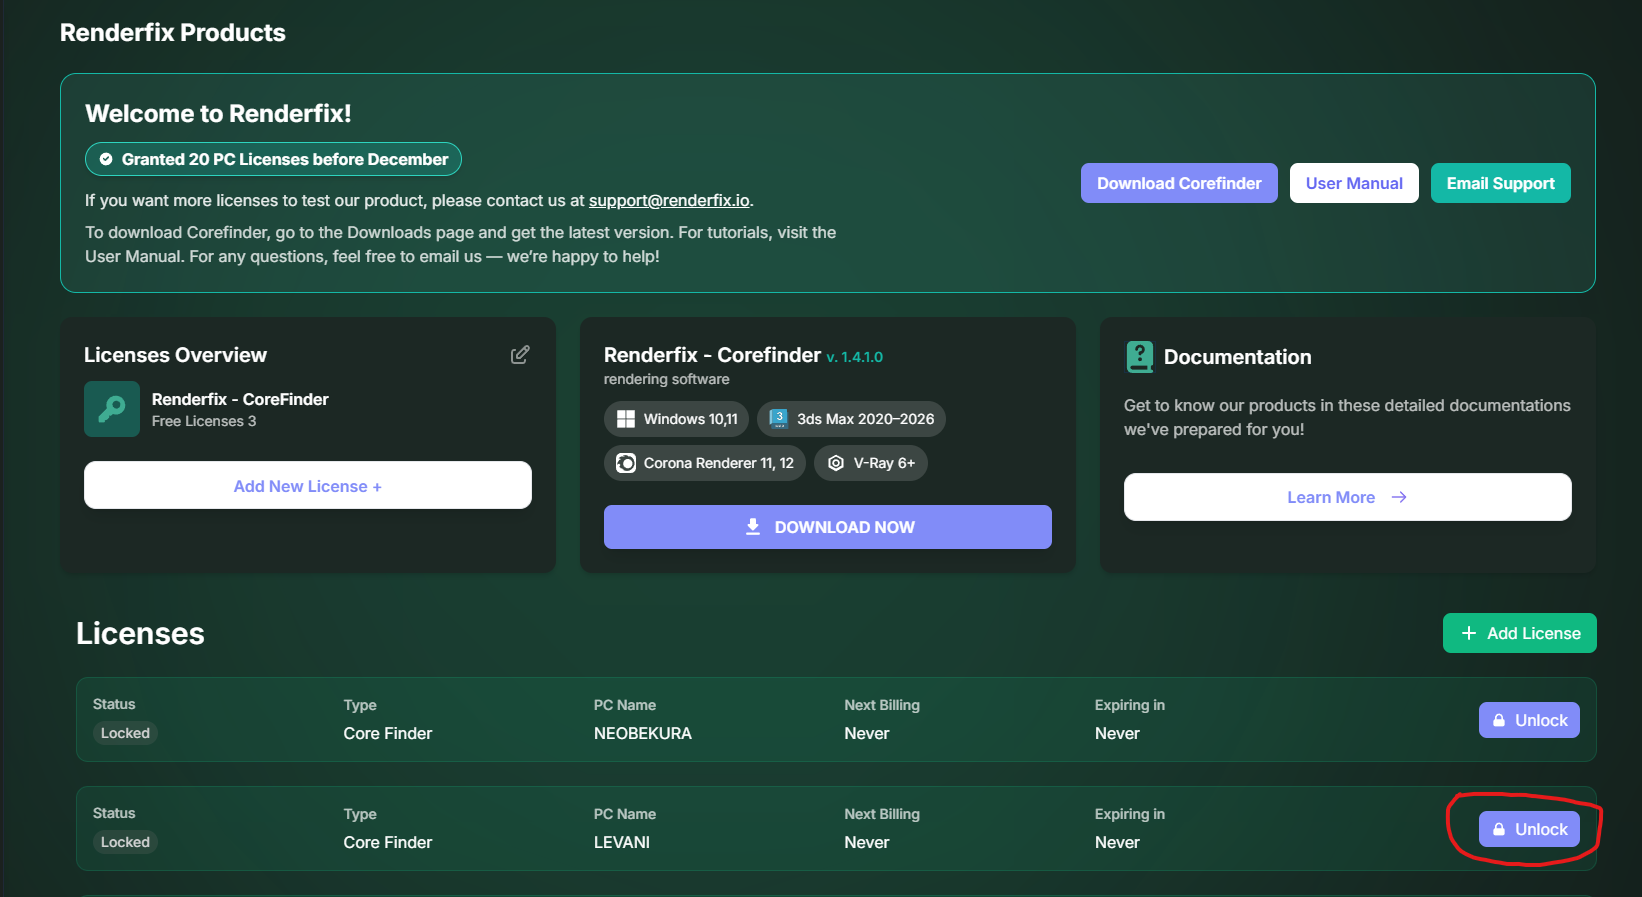
License unlock in dashboard
After initial setup, you should be able to see your PC in the machine page.

Navigate to Machine Page
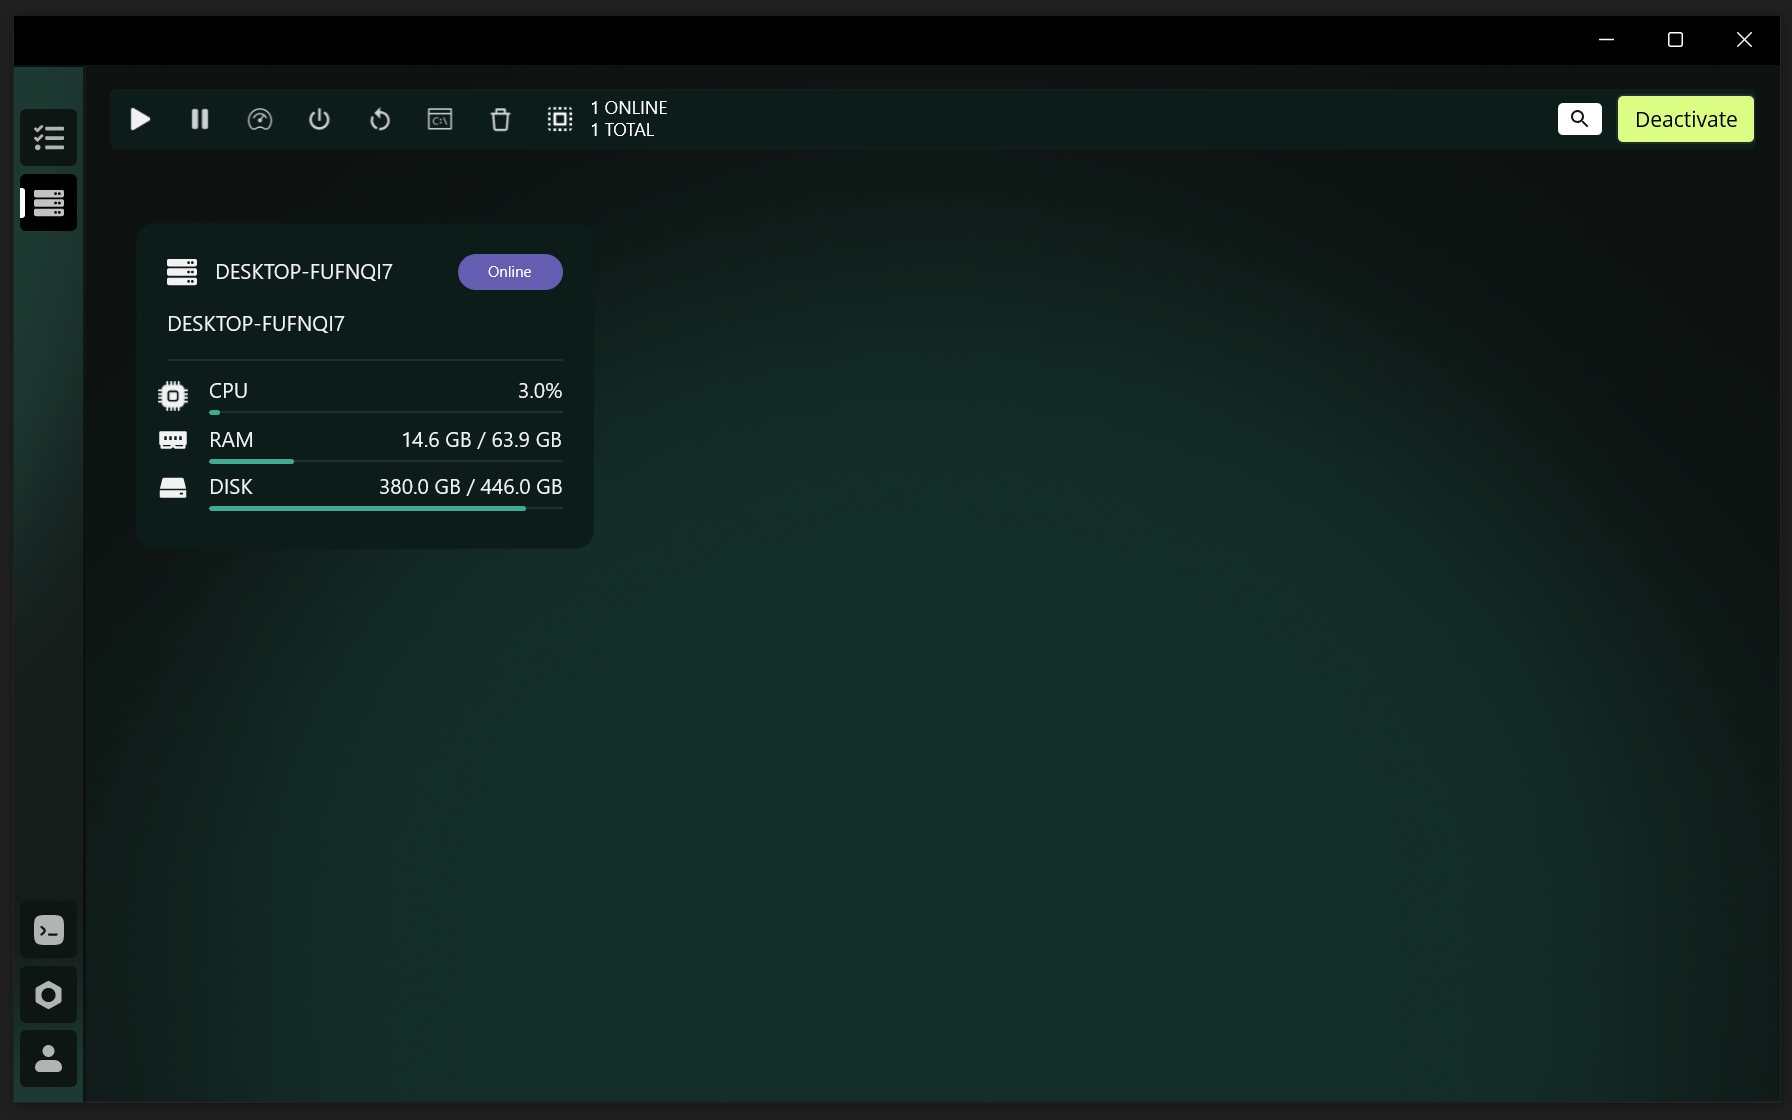
Machine Page should look like this
Video Tutorial
Watch our detailed video guide on setting up and configuring CoreFinder
Blender Tutorial
Blender Tutorial on CoreFinder
Blender Add-on Setup
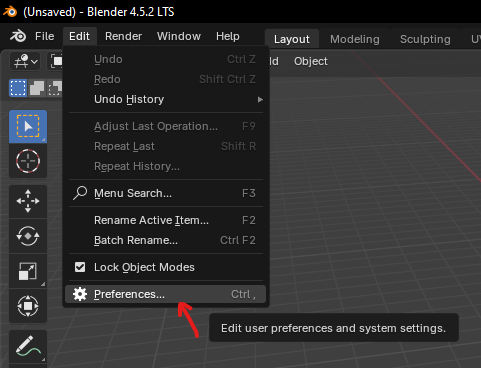
After installation, launch Blender and go to Edit → Preferences → Add-ons. In the search bar, type Renderfix.
Open Blender Preferences and search for 'Renderfix' in Add-ons
Then enable the Renderfix add-on. This is required only once per Blender version.
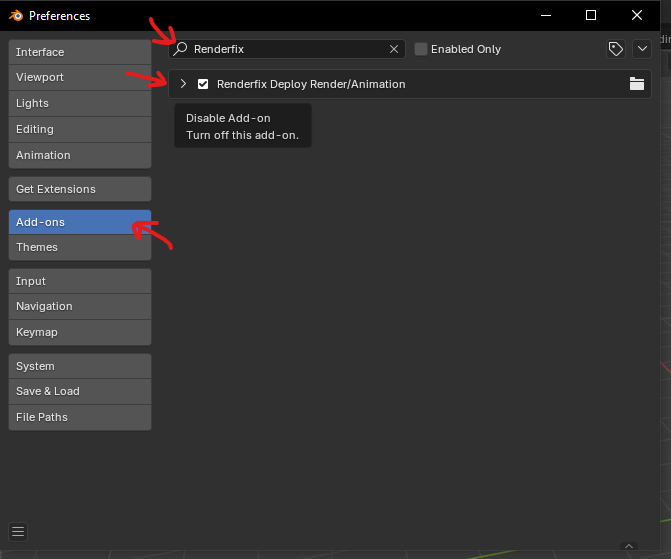
Enable the Renderfix add-on
For the next steps in Blender, go to the Saving Projects (Blender) page.