
How it Works
Understanding the inner workings of CoreFinder's distributed rendering system. Learn about the architecture, communication protocols, and rendering mechanisms that power your render farm.
Core Concepts
CoreFinder is a distributed rendering system that allows you to render your scenes across multiple computers. It is a web-based application that allows you to manage your render tasks and monitor the progress of your renders.
Activation & Deactivation
When a user creates a render task, it might not begin immediately because the PC needs to be activated first. In order for a PC to begin rendering tasks, CoreFinder must be activated.
Manual Activation
You can manually activate CoreFinder by clicking the activation button in the main interface:
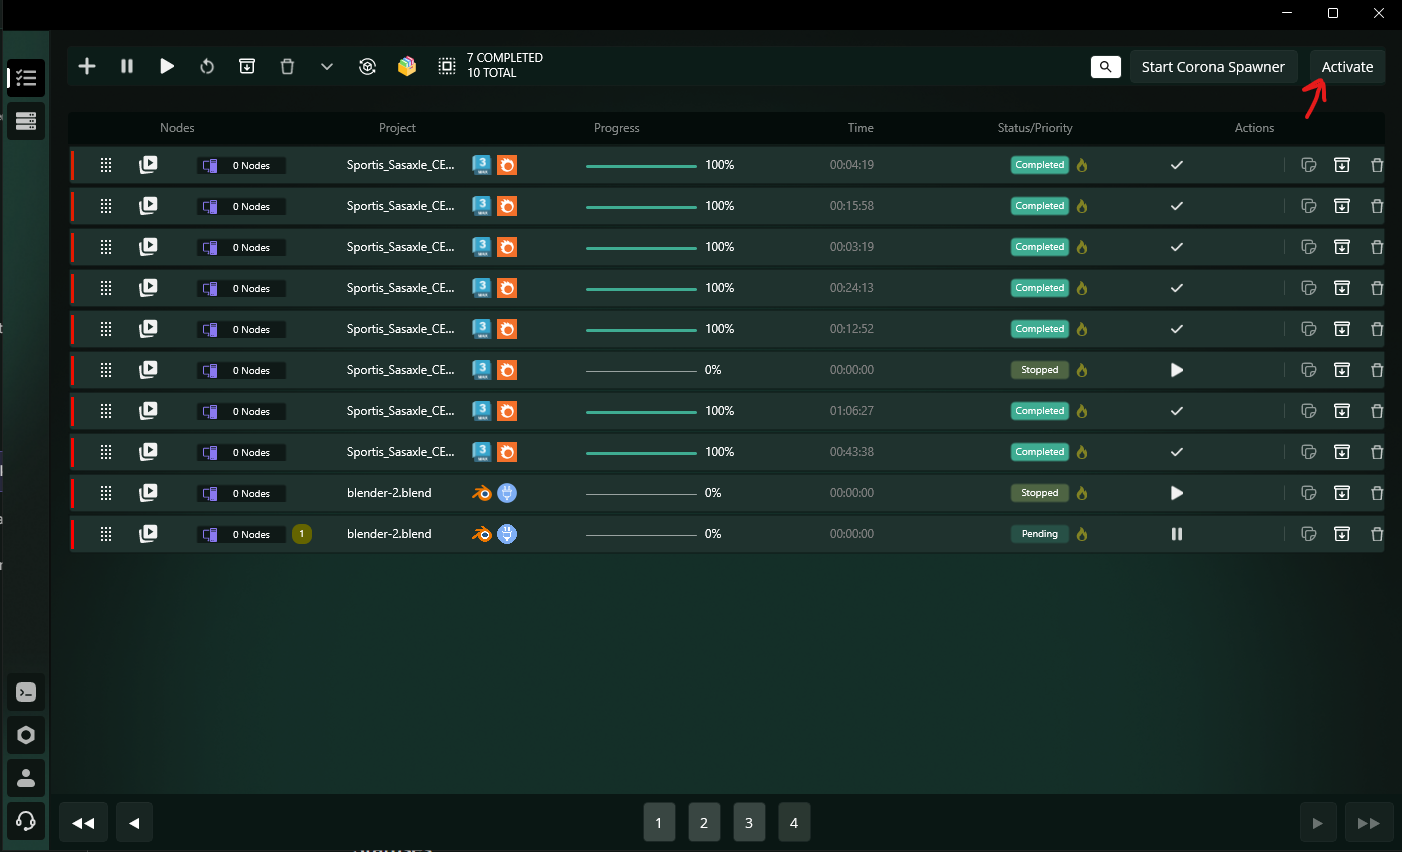
CoreFinder Activation Button
When CoreFinder is activated, the button will change to indicate its active status:
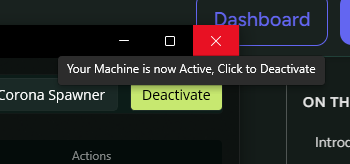
CoreFinder in Activated State
Automated Activation
Activation can also be automated from the settings page:
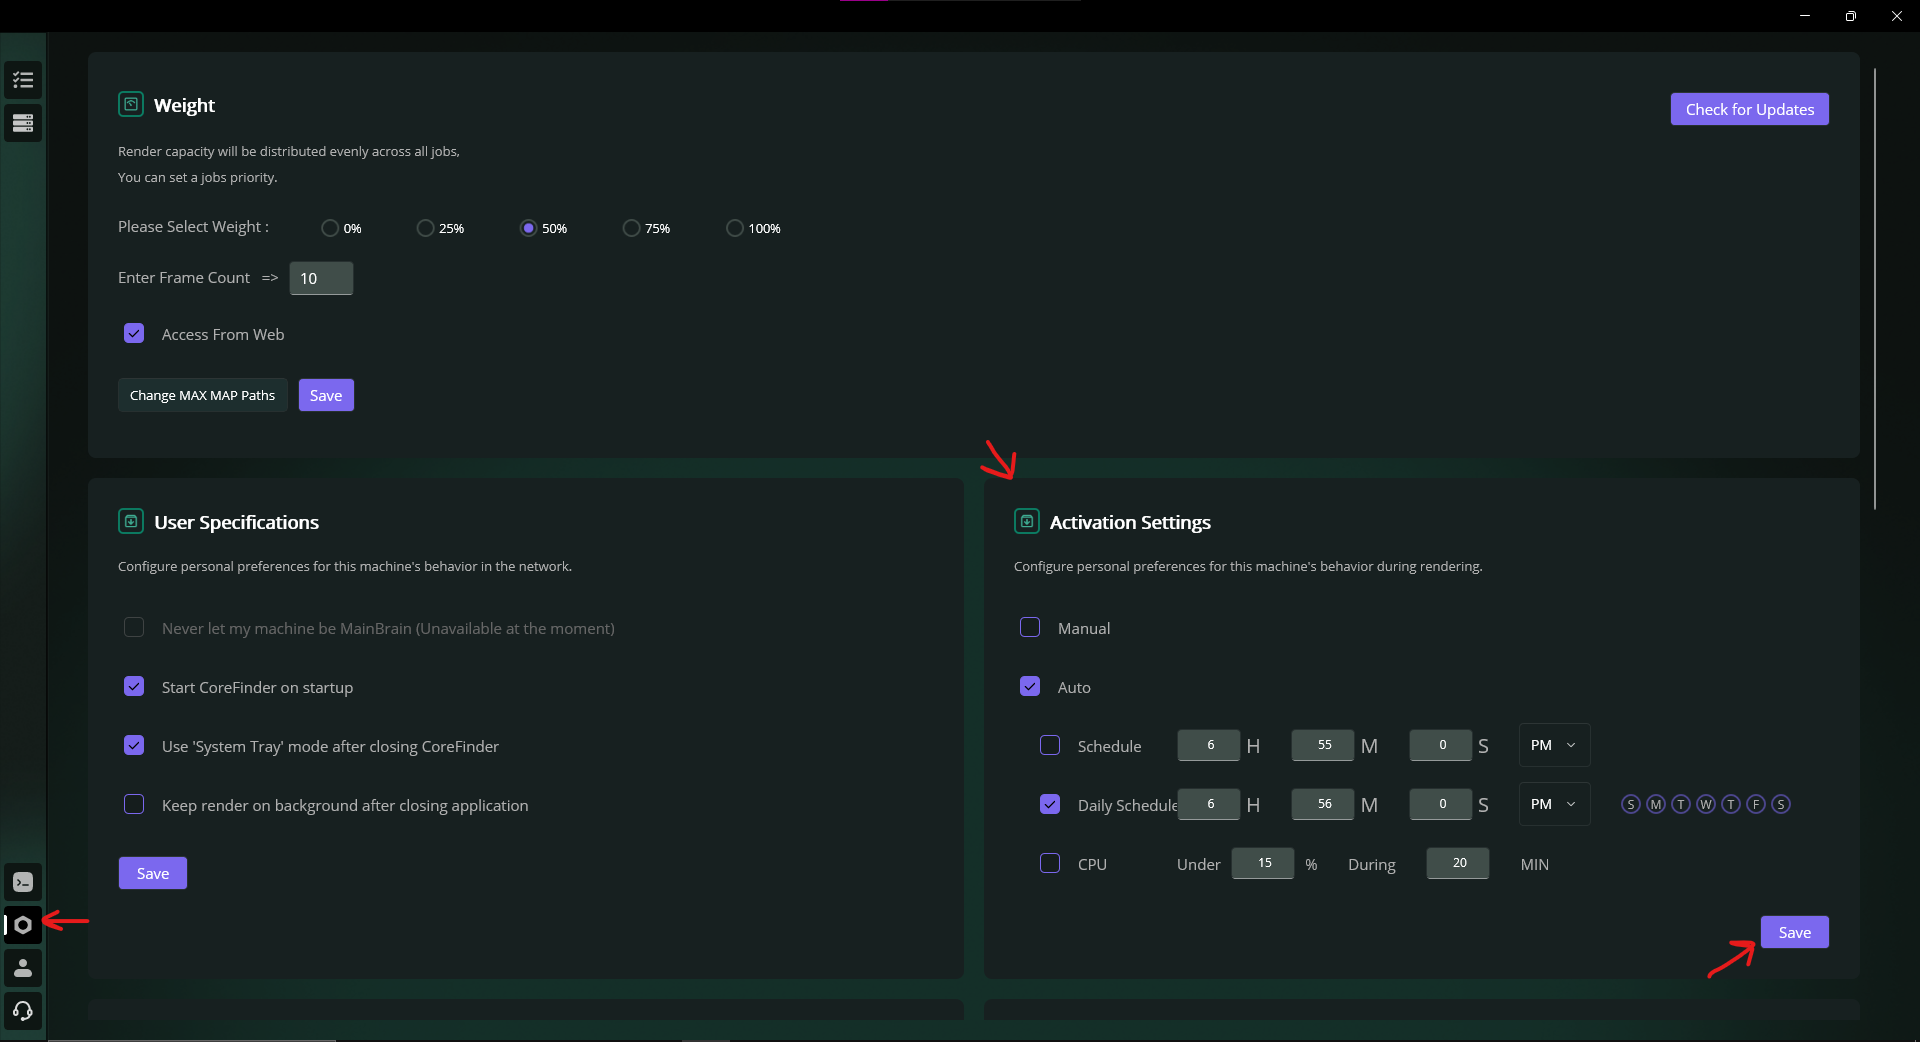
Activation Settings in CoreFinder
Activation Options
You can choose between several activation options:
Manual
Only the user decides when CoreFinder activates. You must manually click the activation button each time.
Auto - Schedule
One-time schedule at a specific hour when CoreFinder will automatically activate.
Auto - Daily Schedule
CoreFinder will automatically activate on selected days at the selected time.
Auto - CPU Usage
CoreFinder activates if CPU is idling under a specified percentage of usage for a specified amount of minutes.
Access From Web
On the settings page you can enable or disable access from the web. This feature allows online monitoring of tasks and machines from your dashboard. You can open the online dashboard here: /app.

Enable/Disable access from web in Settings
When enabled, you can view machines and tasks in the online dashboard. For example, the machines page looks like this:
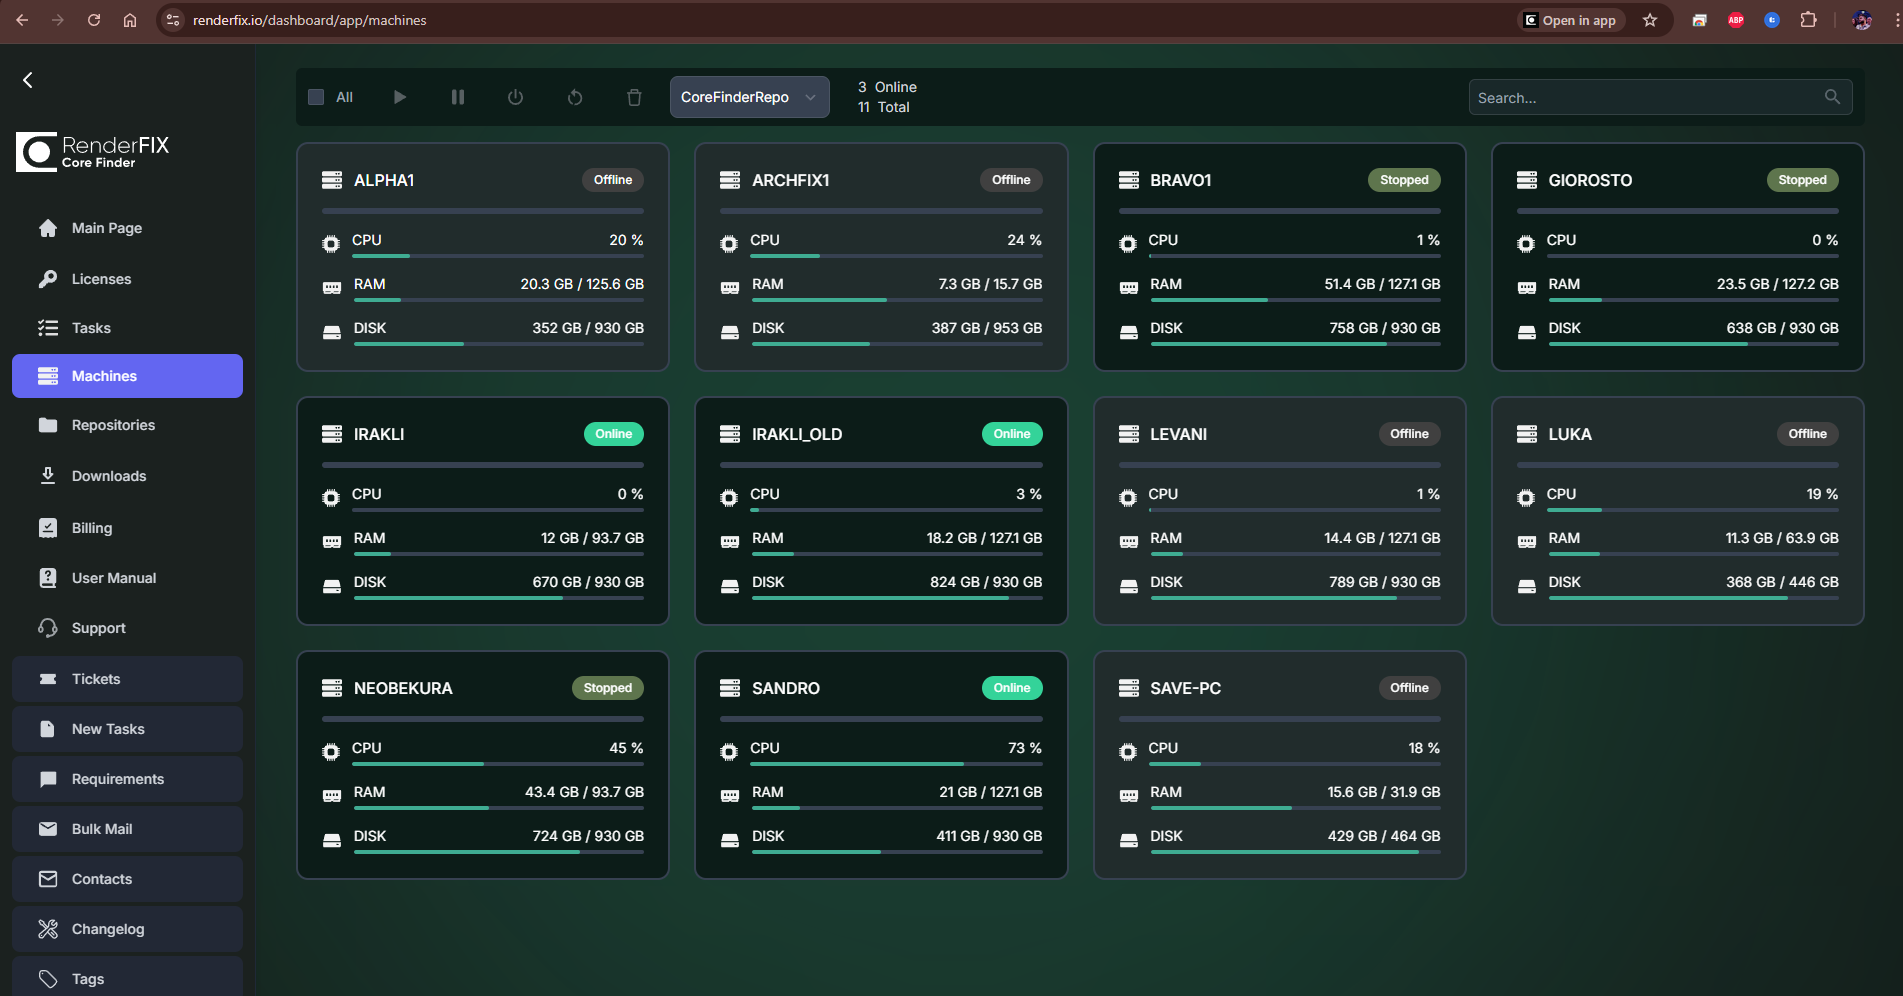
Machines page in the online dashboard
Video Tutorial: Online Monitoring
Video tutorial on using online monitoring features
3ds Max – Change Map Paths
Tired of adding asset paths in 3ds Max on every PC? From the Settings page click Change Max Map Paths to centrally manage map paths for all renders launched by CoreFinder.
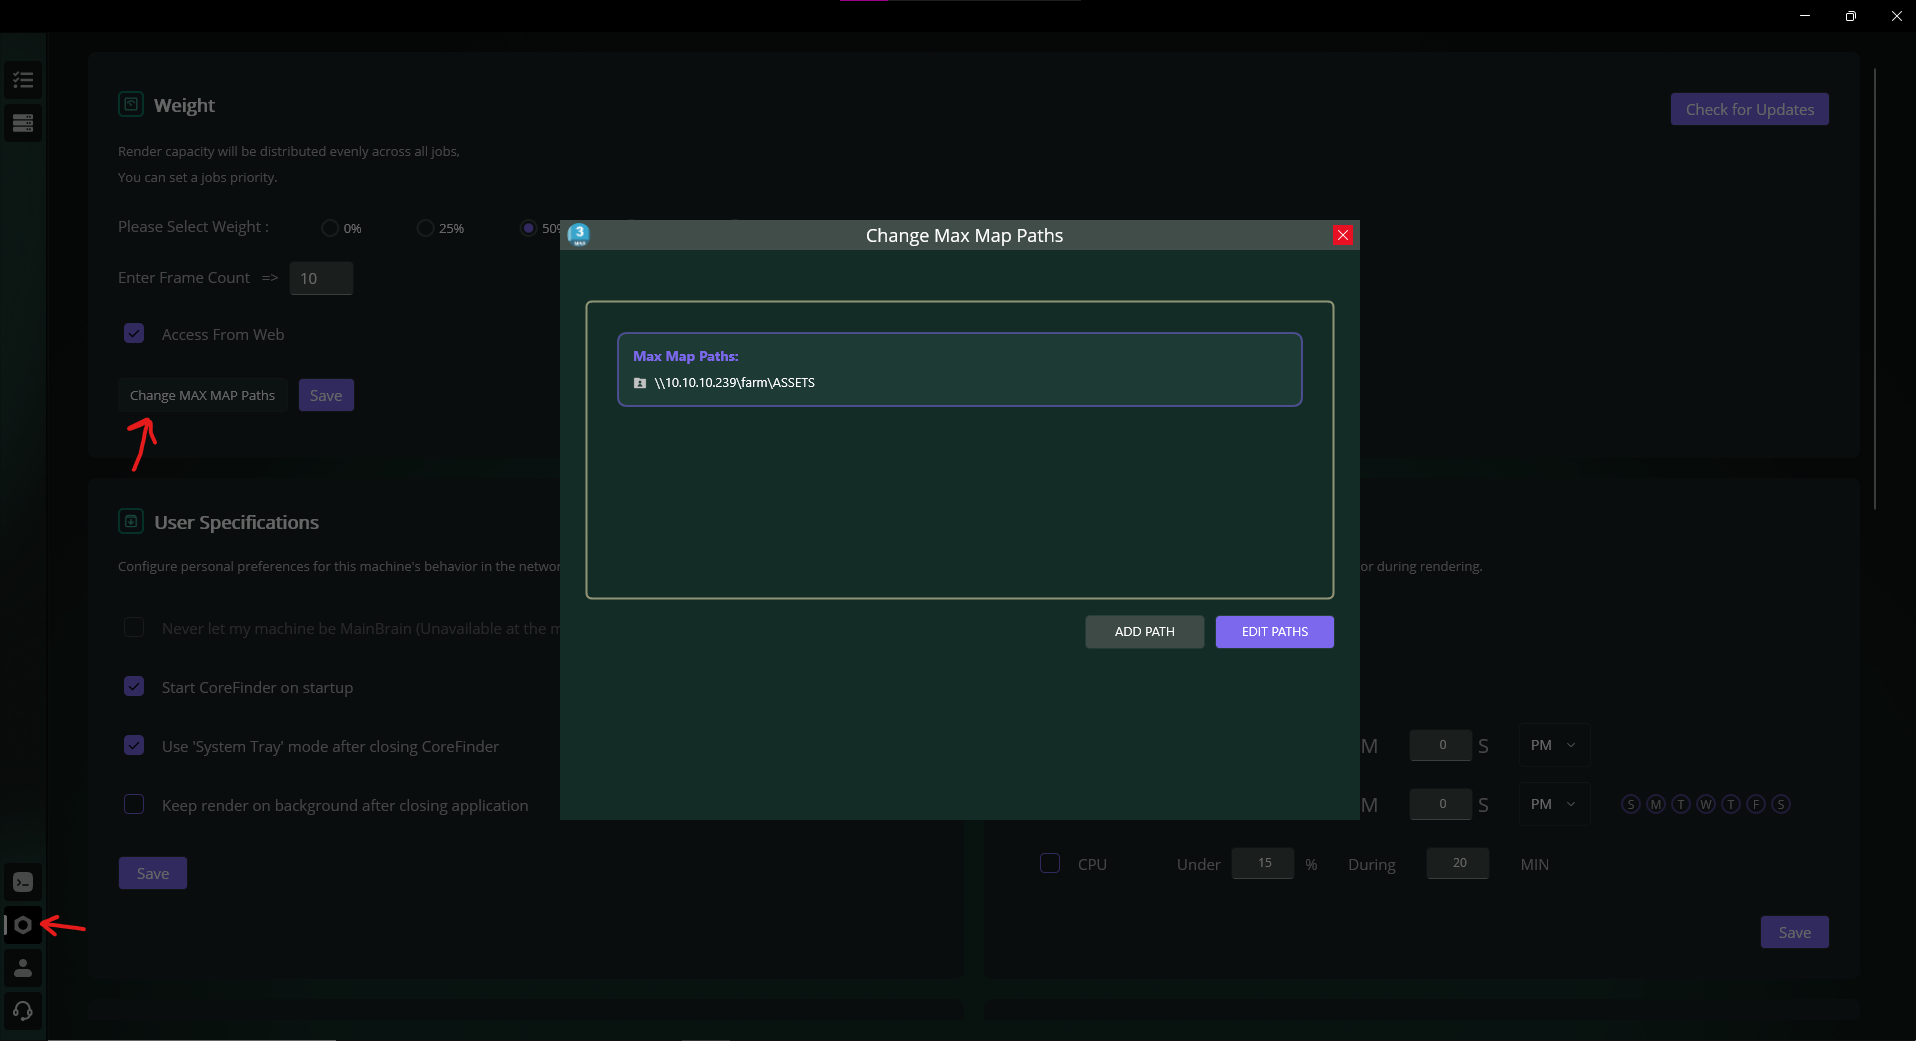
Settings → Change Max Map Paths
Two ways to add paths
-
Edit as text: enter semicolon-separated paths, e.g.
D:\A Minecraft; D:\AI - Add Path button: pick folders and they’ll be appended automatically.
Video Tutorial: Map Paths in 3ds Max
Video tutorial on managing map paths in 3ds Max
User Specifications
Configure CoreFinder behavior from the Settings page using the user specifications checkboxes.
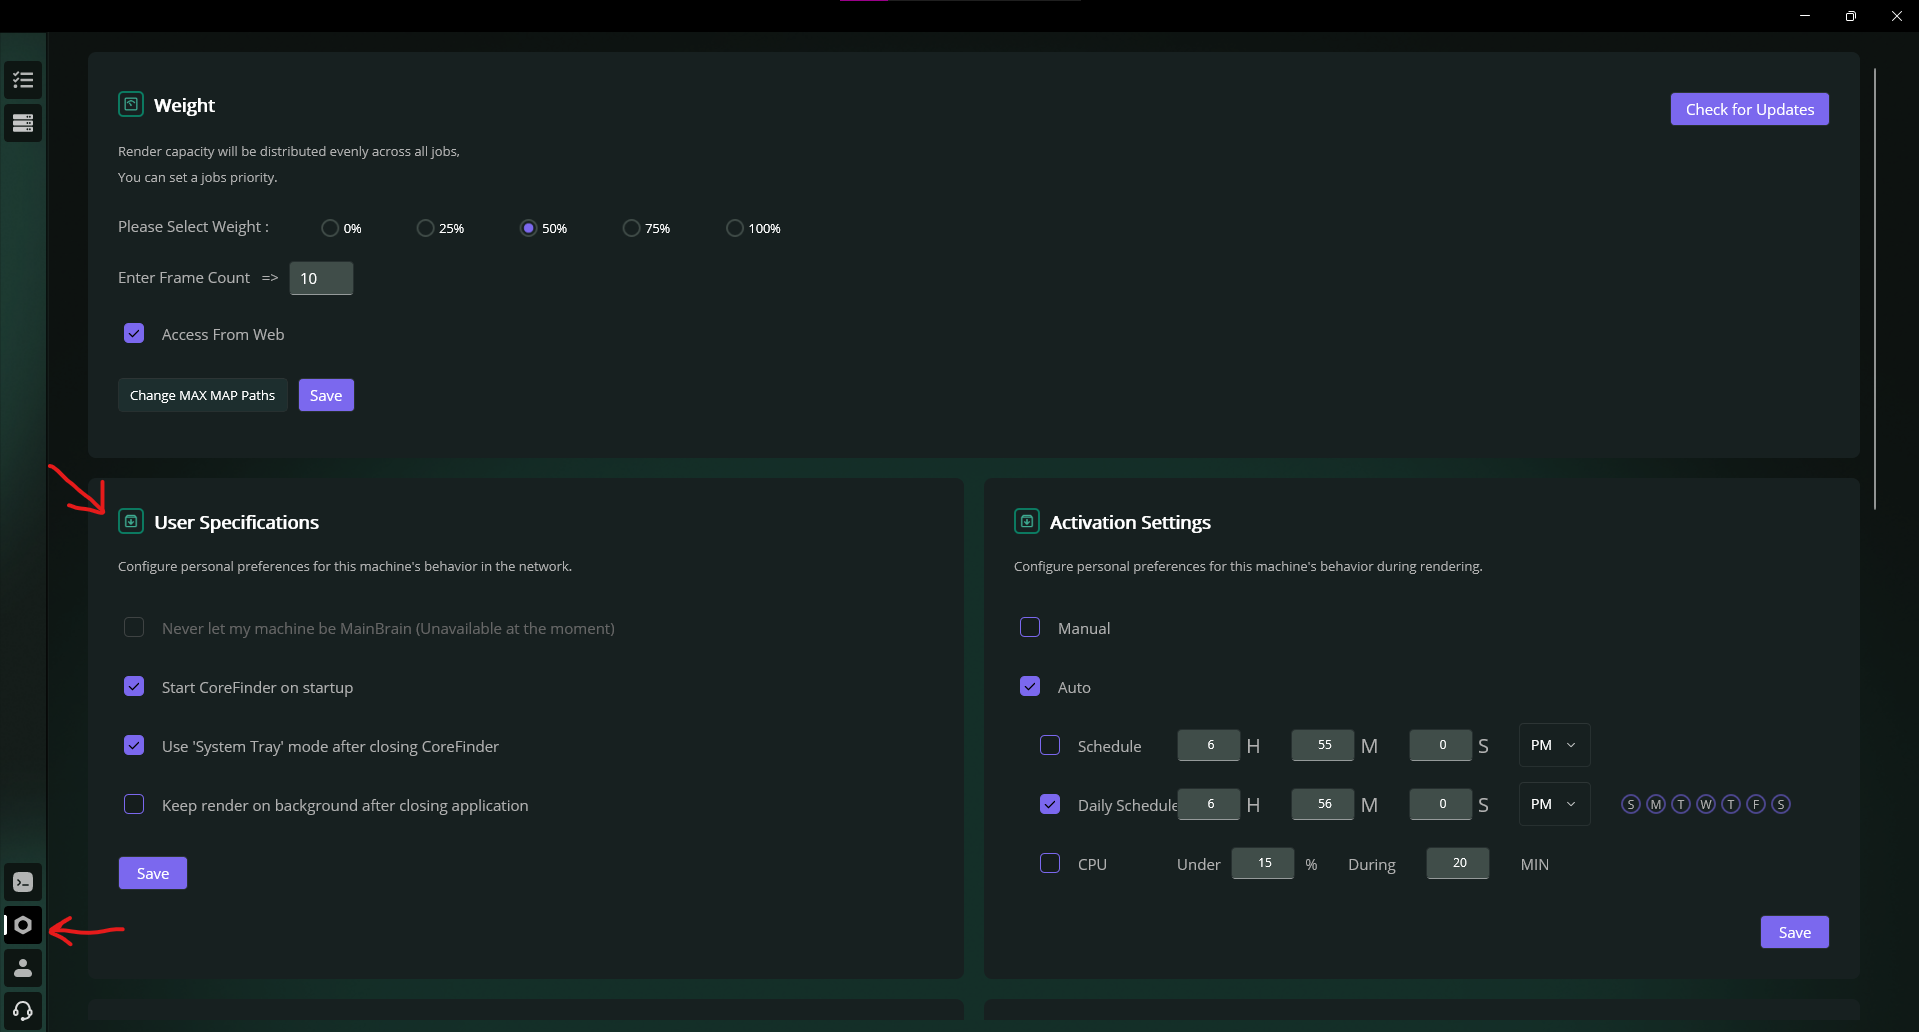
Settings → User Specifications
Start CoreFinder on Startup
Launch CoreFinder automatically when Windows starts.
Use System Tray Mode
Run CoreFinder minimized to the system tray so it stays out of the way while continuing to operate in the background.
Keep Render on Background after Closing Application
Allow ongoing renders to continue even if you close the CoreFinder app. By default, closing CoreFinder stops active renders; enable this to keep them running.
Software & Plugins Overview
This section provides an overview of installed software and detected plugins across your PCs.
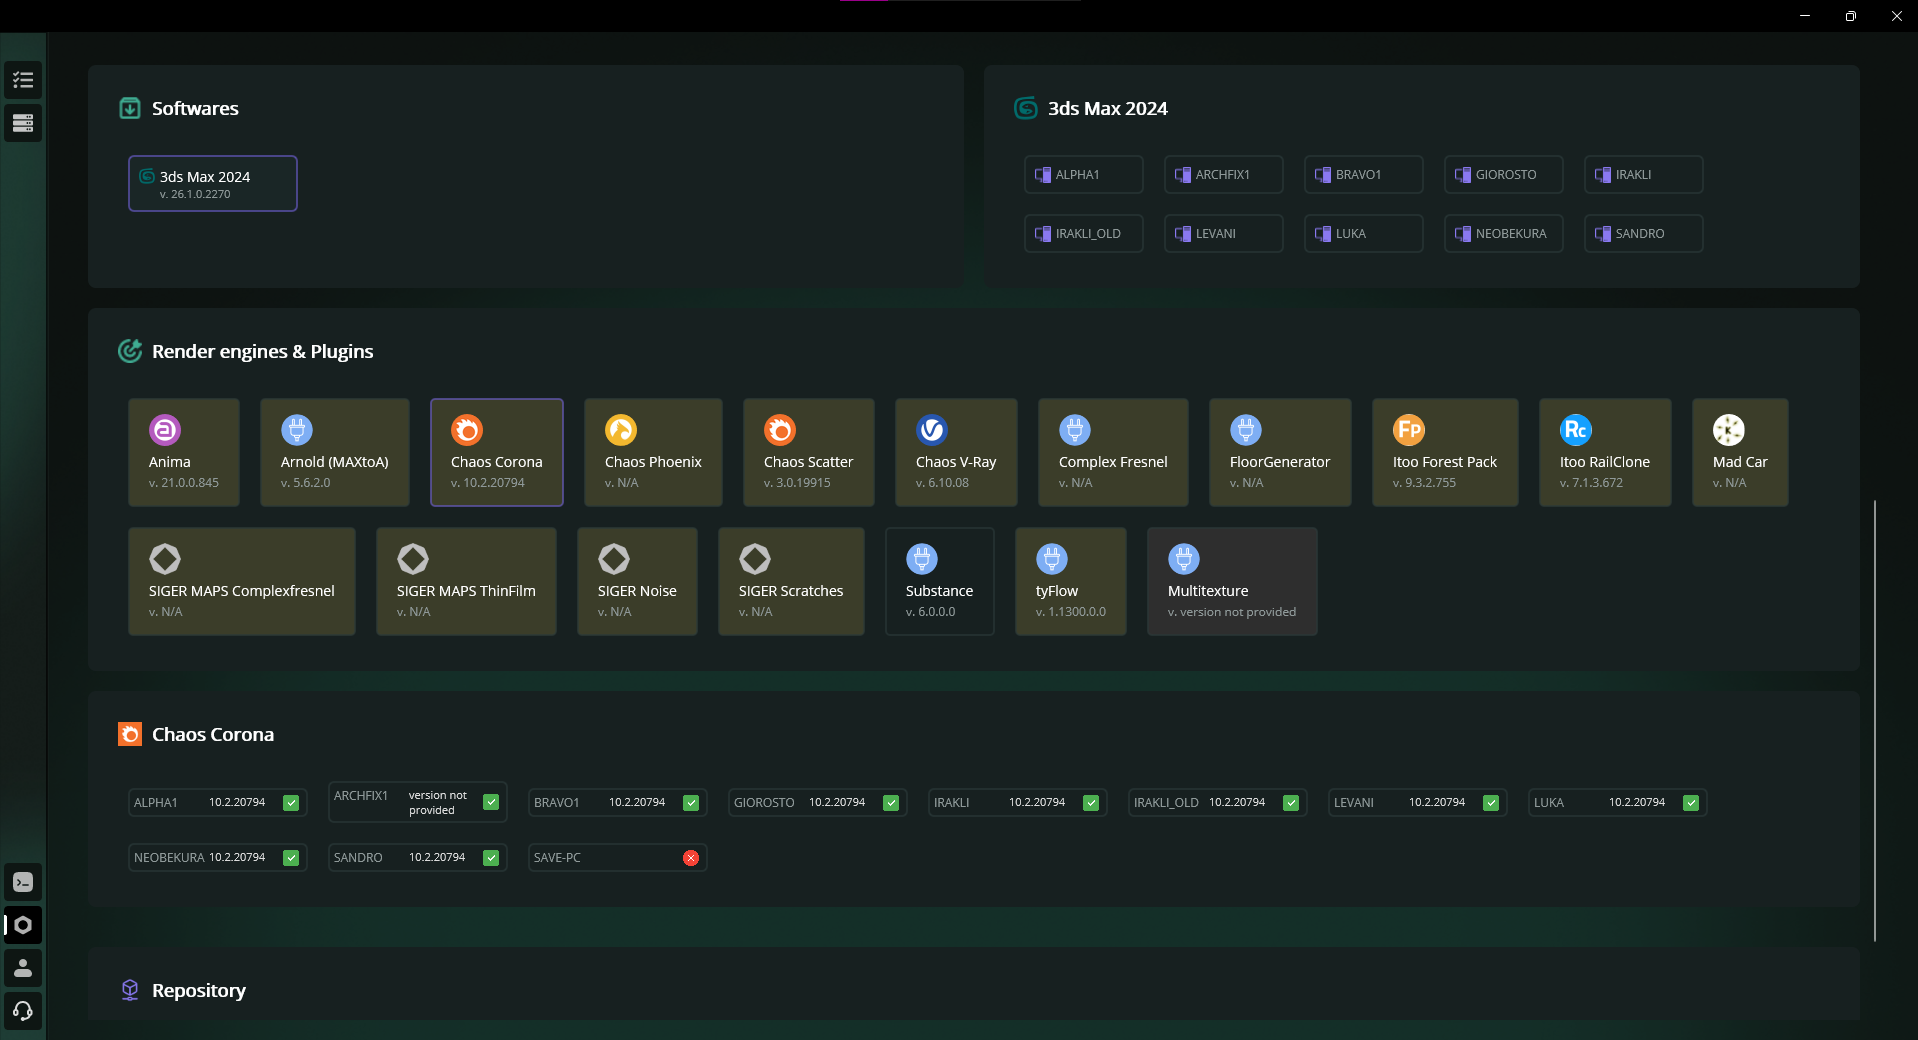
User Page → Software & Plugins
- Software selection: by default one software is selected.
- Plugin listing: clicking a software displays its plugins.
- PC mapping: for the selected software you see on which PCs it is installed; when a plugin is selected, you also see on which PCs that plugin is installed.
- Color states:
- Yellowish tiles indicate version mismatches across PCs.
- Default background tiles indicate healthy/consistent installations.
- Gray tiles indicate not installed on the current machine.
Video Tutorial: Plugin Recognition
Video tutorial on plugin recognition in CoreFinder
Profile Page – Versions & Updates
On your profile page you can see all active licenses with the installed CoreFinder version on each PC, and you can update CoreFinder on those PCs from the same view.
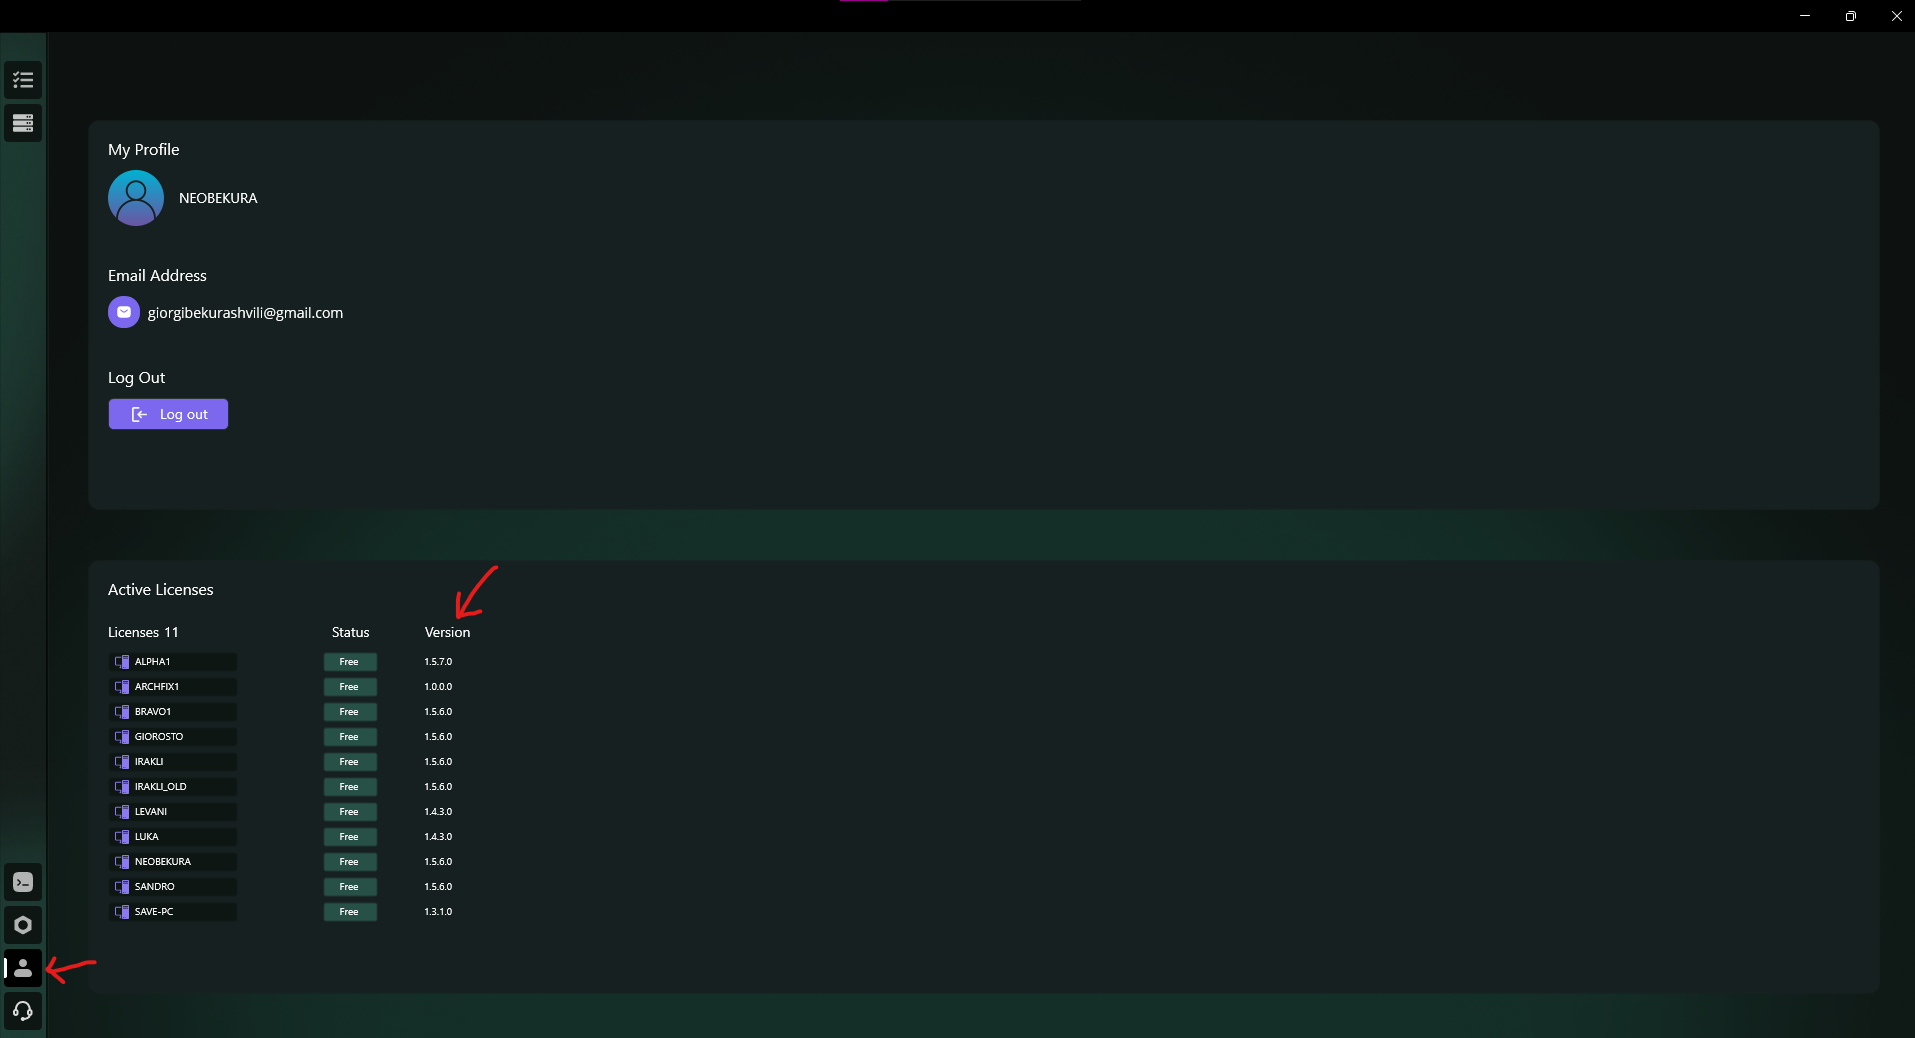
Profile → Active Licenses, versions and update actions
- View all PCs with their current CoreFinder version.
- Identify outdated versions and trigger updates directly.
Check for Updates
On the Settings page, use the Check for updates button to verify if you are running an outdated version of CoreFinder. If a newer version is available, you will be prompted to update.
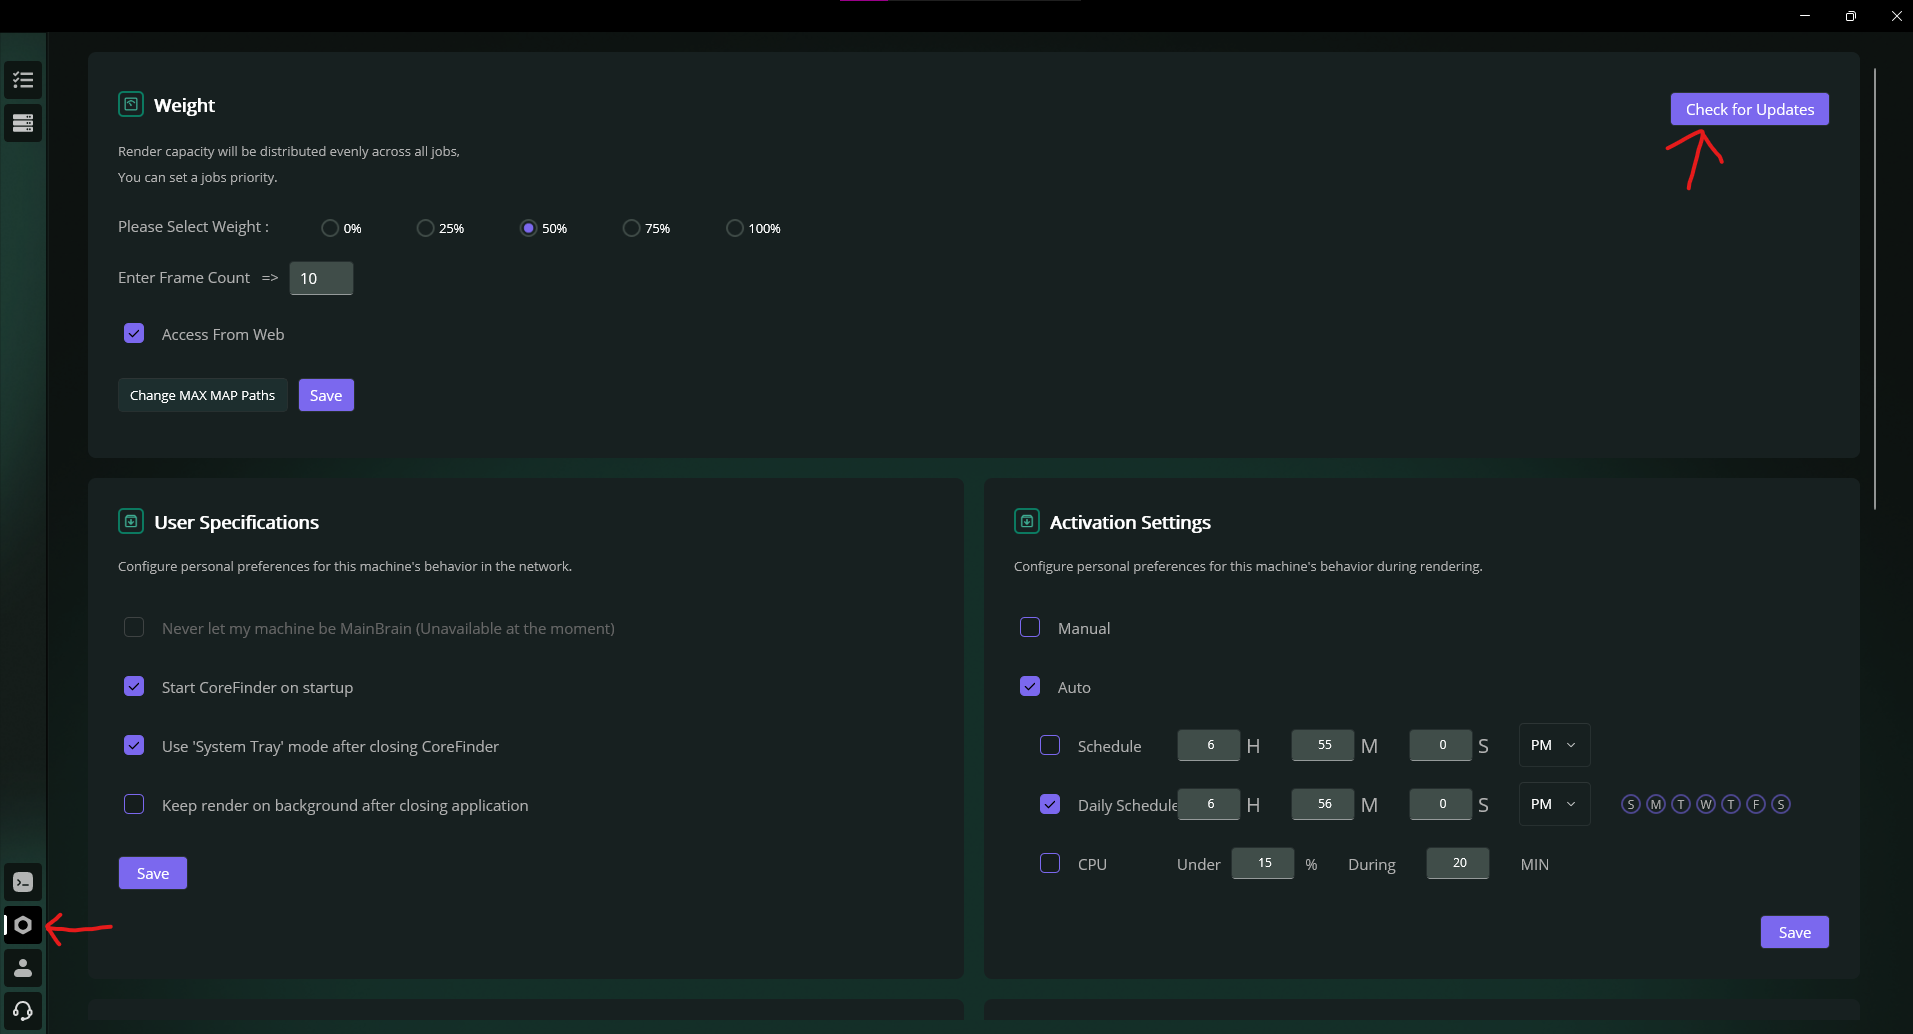
Settings → Check for updates
New Feature: Right-Click Actions
CoreFinder now includes convenient right-click context menus on both task and machine pages, providing quick access to common actions.
Video Tutorial: Right-Click Features
Video tutorial on right-click context menu features in CoreFinder